 WebIssues Manual
Version 1.0.5
If you are using the Desktop Client, you can manage projects and folders directly from the main window of the program. The relevant commands are available if you activate the project tree by clicking on it. In case of the Web Client, select the Manage Projects command, located above the projects tree, to manage projects and folders.
If you are a system administrator, you can manage all projects and create new projects. If you are the administrator of a project, you can manage its members and folders.
To add a new project, select Add Project, enter the name of the project name and click .

After creating a new project, no regular user has access to it. For more information on granting users access to projects, see the section called “Project members”.
The system administrator can change the name of any project. To do this, select the project and click Rename Project. You can also delete projects using the Delete Project command. If the project is not empty, a warning will be displayed.
Warning
When deleting projects or folders, pay special attention whether you are not mistakenly deleting the wrong data. All issues contained in them are permanently and irreversibly removed from the system, and it's not possible to restore them.
To add a new folder, select a project and click Add Folder.
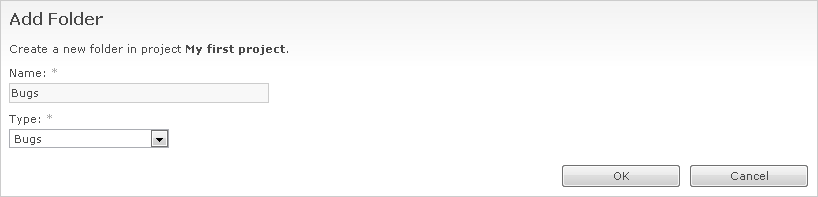
When creating a folder, you have to give it a name that is unique within the project and select the type of issues that will be stored in it. After creating a folder its type can't be changed. However, you can rename a folder using the Rename Folder command and delete it using the Delete Folder command.
You can also move a folder from one project to another. In order to do this, you must be the administrator of the system or of both projects — the source one and destination one. Select the folder you want to move and click Move Folder. Then select the destination project from the list and click .