
When you run the WebIssues Client the Main Window will appear containing a list of recent connections.
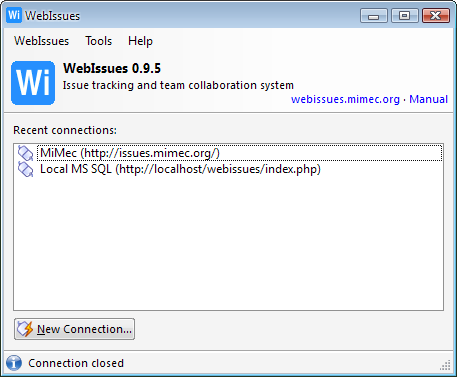
In order to start working, you need to connect to a WebIssues server. To do that, double click a connection in the list or select → to connect to a new server. The Login Dialog will appear.
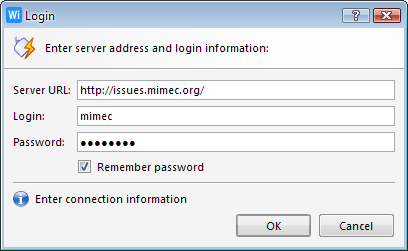
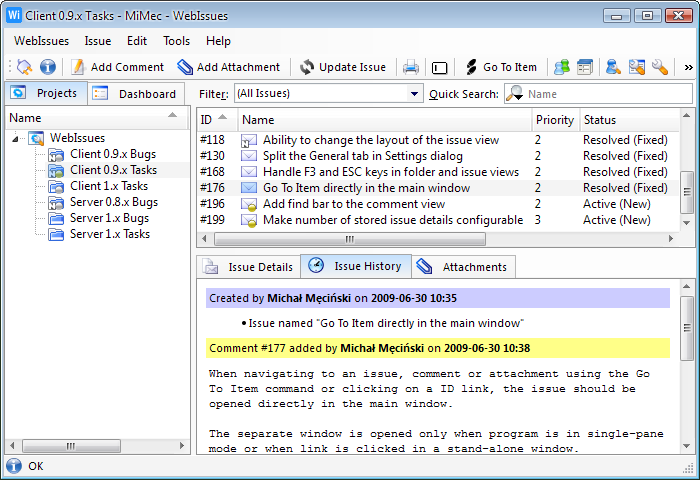
Enter the URL of the server, your login and password and press . If the connection is successful, the Login Dialog will be closed and the Main Window will show three panes: a tree of available projects and folders on the left, a list of issues in the selected folder on the right and details of the selected issue below.
At any time you can disconnect from the current server by selecting → and login to a different server.
If you prefer the old style user interface, where folders and issues are displayed in separate windows, not directly in the Main Window, select → and switch the layout of the Main Window to Single Pane.
You can configure the WebIssues Client to automatically reopen the last connection when it's started. It can be also configured to always run in the background and show a Tray Icon which will open the Main Window when it's clicked. See the WebIssues Settings section for more information.
Copyright © 2007-2009 WebIssues Team